How To Choose A Simple Project Dashboard For Client Work
A practical step-by-step guide to how to choose a simple project dashboard for client work, including preparation, instructions, common issues, tips, and next steps.
How To Choose A Simple Project Dashboard For Client Work
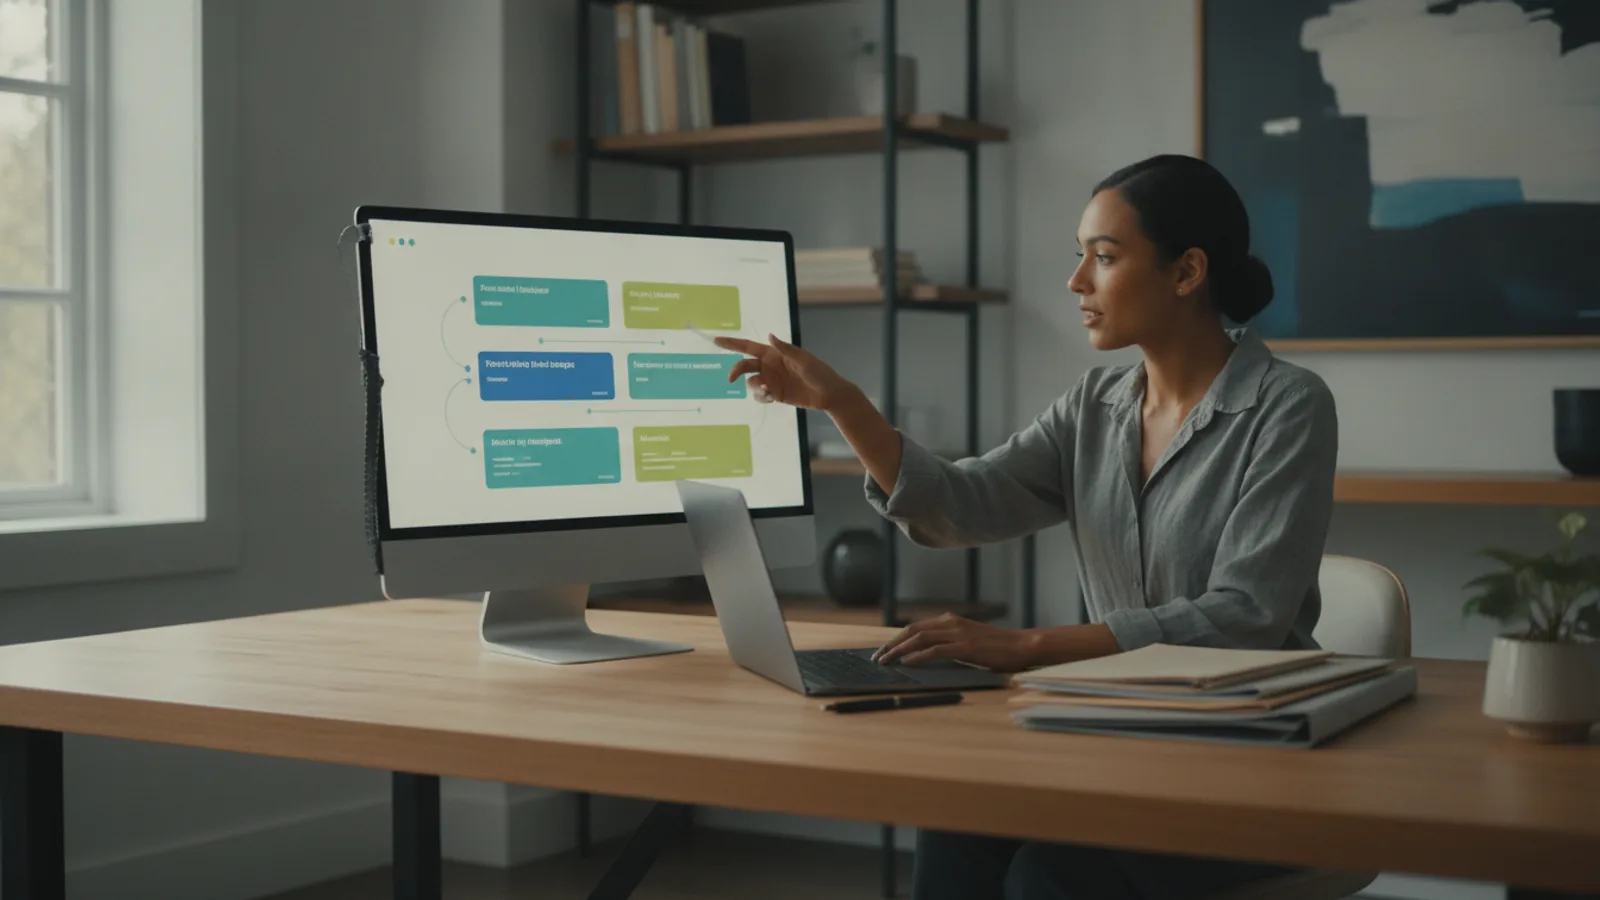
Choosing a simple project dashboard for client work means focusing on clarity, ease of use, and the ability to communicate progress without overwhelming the client. This guide walks you through defining your needs, evaluating options, setting up the dashboard, and maintaining it. The goal is to provide a practical, step-by-step approach that saves time and reduces confusion. You will learn how to identify essential features, avoid common pitfalls, and create a dashboard that serves both you and your clients effectively. This guide is designed for freelancers, consultants, and small teams who need a straightforward tool to manage client projects without complexity.
Fast Answer
- Define the key metrics and information your client actually needs to see, then list the features necessary to display them clearly. Start with a simple spreadsheet or basic task list before considering full-featured software.
- Evaluate a few minimal tools by testing them with a sample project, checking for ease of use, collaboration features, and reporting capabilities. Choose the one that requires the least setup and offers the clearest overview.
Before You Start
- List your client's primary concerns, such as deadlines, budget usage, or task status, and prioritize the top three metrics you must show. This ensures the dashboard focuses on what matters most.
- Identify the people who will view the dashboard and their technical comfort level, so you can choose an interface that is intuitive for them. This prevents confusion and reduces support requests.
- Check the data sources you already use, like time trackers or project management tools, and see if they offer built-in dashboards or easy integrations with others.
- Set a clear purpose for the dashboard, whether it's for weekly status updates, milestone reviews, or overall progress reports. This clarity guides your selection and setup.
Step-by-Step Instructions
Determine What Your Client Needs to See
Start by meeting with your client to understand what information they care about most. Ask them what they want to track, such as project milestones, open tasks, or potential risks. List their top priorities and note any special reporting requests. This conversation often reveals that clients only need a few key metrics, not a complete project management system. For example, a client might want to see the percentage of completed work, upcoming deadlines, and any issues that need their input. Capture these in a simple document or spreadsheet. Once you have that list, rank the items in order of importance. This step is critical because it prevents you from overbuilding the dashboard with irrelevant data. Also, consider the client's comfort with technology and their preferred frequency of updates, as these factors influence the final design. By focusing on the client's needs, you ensure the dashboard becomes a useful tool for communication.
List the Minimum Features Needed to Meet Those Needs
Based on the client's requirements, write down the essential features your dashboard must have. For most simple client dashboards, this includes a way to display task status (e.g., to do, in progress, done), a timeline or calendar for deadlines, and a section for notes or comments. If the client is concerned about budget, you might need to show hours logged or budget spent. Avoid adding features that only you would use, like advanced analytics or custom filters. Instead, keep the feature set minimal to reduce confusion and maintenance. Consider how data will be entered: will you update it manually, or does the dashboard sync with a project management tool? Manual entry is fine for small projects, but automation can save time in the long run. Also, think about how the client will access the dashboard—will they view it online, receive a weekly email report, or have a login? This decision affects the complexity of the tool. A simple list of must-have features will guide your selection and prevent you from being swayed by unnecessary extras.
Evaluate Simple Dashboard Options Using a Trial Project
Now that you have a clear list of features, create a free trial or test version of the dashboard that interests you. Do not just look at screenshots; actually build a sample project with your own data. Set up a few tasks, add deadlines, and invite a colleague or the client for a test run. This hands-on test reveals how intuitive the dashboard is, whether it loads quickly, and if it can handle your typical workload. During the trial, pay attention to how long it takes to update a task or change a deadline. A dashboard that takes more than a few clicks for simple actions becomes a burden. Also, check if the interface is clean and not cluttered with charts and numbers that are not essential. Try to view the dashboard on a mobile device as well, because your client might check it from their phone. After the trial, note what you liked and disliked. Repeat this process with one or two other tools to compare their strengths and weaknesses. This practical evaluation is far more reliable than reading promotional descriptions.
Check the Dashboard's Reporting and Sharing Capabilities
A dashboard is only useful if you can share it with your client in a way that works for them. Explore how you can generate reports, export data, or schedule email updates. Some dashboards allow you to create a shareable link with view-only access, which is ideal for client transparency. Others may require the client to create a login, which adds an extra step. Think about how often the client wants to see progress: if they prefer weekly summaries, a feature that sends a snapshot or PDF by email is valuable. If they like to check live, then a web link is enough. Also, consider whether the client can comment on the dashboard, because that interaction can improve communication. However, be cautious: too much collaboration can turn a simple dashboard into a forum. Test the sharing process to see how easy it is to give access and revoke it later. You should be able to control permissions, such as making the dashboard public or private. This control ensures your client sees only what you intend.
Set Up the Dashboard and Populate It with Real Project Data
Once you have chosen a dashboard, invest time in a careful setup. Create a clear structure: break the project into major phases or milestones, then add individual tasks under each. Use consistent naming conventions, such as starting tasks with verbs like 'Design', 'Review', or 'Launch'. Add realistic deadlines and assign tasks to team members if applicable. As you populate the data, keep it minimal: only enter information that is relevant to the client and future reporting. Avoid overloading with minute details that you will not maintain. After the initial setup, review the dashboard from your client's perspective. Is the progress status obvious? Are upcoming deadlines highlighted? Does the layout match the order of events? Make adjustments to the display, such as changing the order of sections or color-coding priorities. Then, test the sharing link again to ensure everything appears correctly. A well-structured dashboard saves time during the project because you can update it quickly and know that it communicates accurately.
Maintain the Dashboard and Review It with Your Client
A dashboard is a living tool that needs regular updates to stay useful. Set a weekly routine to update task statuses, add new tasks, and mark completed items. This habit takes only a few minutes but ensures the dashboard reflects reality. Before each client meeting, spend a few minutes reviewing the dashboard and noting any points to discuss. Then, during the meeting, share your screen and walk through the dashboard, highlighting successes and addressing issues. This review is a great opportunity to ask the client if they find the dashboard clear and if they have any suggestions for improvement. Listen to their feedback and adjust the layout or features accordingly. Avoid treating the dashboard as fixed; it should evolve as the project changes. Also, be mindful of data accuracy: if you forget to update, the client may lose trust. By consistently maintaining the dashboard, you turn it into a reliable communication tool that reduces status meeting time and prevents misunderstandings.
Quick Reference
| Situation | Action | Why it helps |
|---|---|---|
| A client asks for constant status updates and seems anxious about progress. | Set up a shared dashboard link that auto-refreshes with current data, and schedule a brief weekly review call to walk through it together. | This gives the client access to live information and a regular touchpoint, reducing anxiety about the unknown and building trust. |
| The client is not very technical and gets confused by complex charts and graphs. | Simplify the dashboard to show only a few key metrics like percentage complete, upcoming deadlines, and open issues, and remove any advanced analytics. | A clean, minimal dashboard is easier for non-technical clients to understand, preventing frustration and saving time on explanations. |
| You have to report on budget usage but your dashboard does not have a budget field. | Manually track budget in a separate spreadsheet and add a simple summary, like a number or a bar, to the dashboard, updating it weekly. | This meets the client's need without requiring a full-featured invoicing tool, keeping the dashboard simple while maintaining transparency. |
Common Issues
- The dashboard becomes cluttered with too many widgets and data points, confusing clients.: Review the dashboard and remove any elements that are not directly useful to the client. Focus on the top three metrics that were identified in the initial meeting and hide everything else.
- Your client cannot access the dashboard because of login requirements or permissions.: Set up the dashboard to allow view-only access via a shareable link, and ensure the permissions are set to 'anyone with the link can view.' If the tool requires a login, guide the client through creating an account and then invite them with the correct role.
- You forget to update the dashboard regularly, so it shows outdated information.: Establish a weekly maintenance habit by adding a recurring task on your calendar. Also, use the dashboard's mobile app, if available, to make quick updates on the go, and set up automatic reminders to review and refresh data.
Advanced Tips
- Use color coding to highlight task statuses (e.g., green for complete, yellow for in progress, red for blocked) so the client can quickly scan the dashboard without reading every line.
- Create a 'Client View' that filters out internal notes or sensitive details, giving the client a clean, professional overview that only shows non-sensitive information.
- Set up automatic reports that go out weekly via email, summarizing key numbers and any changes, so the client gets a consistent digest even if they don't check the dashboard.
Final Checklist
- I have met with the client and listed the top three metrics they want to see on the dashboard.
- I have tested at least two different dashboards using a real sample project and compared their ease of use.
- I have configured the dashboard so that I can share it with the client via a simple link that does not require a login.
- I have scheduled a weekly time to update the dashboard and review it with the client to ensure it remains accurate and helpful.
FAQ
What if my client wants a lot of details on the dashboard?
While it's important to respect your client's preferences, too much detail can make the dashboard confusing. Instead of cramming everything onto one screen, offer to create separate views or use tabs for different types of information, such as a high-level overview and a detailed task list. You can also schedule a call to review detailed reports separately, keeping the main dashboard simple.
How often should I update the dashboard?
For most projects, updating the dashboard once a week is sufficient, but the frequency should align with how fast your project moves. If you have daily changes, consider updating it daily or linking it to a live project management tool that updates automatically. The key is to keep it current enough that your client can rely on the information at a glance.
What if I choose a dashboard and later find it doesn't meet our needs?
It's okay to switch tools, but try to evaluate thoroughly upfront. If you need to change, make sure to export any important data first, and plan a transition period where you run the old and new dashboards in parallel. Communicate the change to your client early, and test the new dashboard with a sample project before fully committing.