A Simple Project Dashboard For Client Work Checklist For First Time Readers
A practical step-by-step guide to a simple project dashboard for client work checklist for first-time readers, including preparation, instructions, common issues, tips, and next steps.
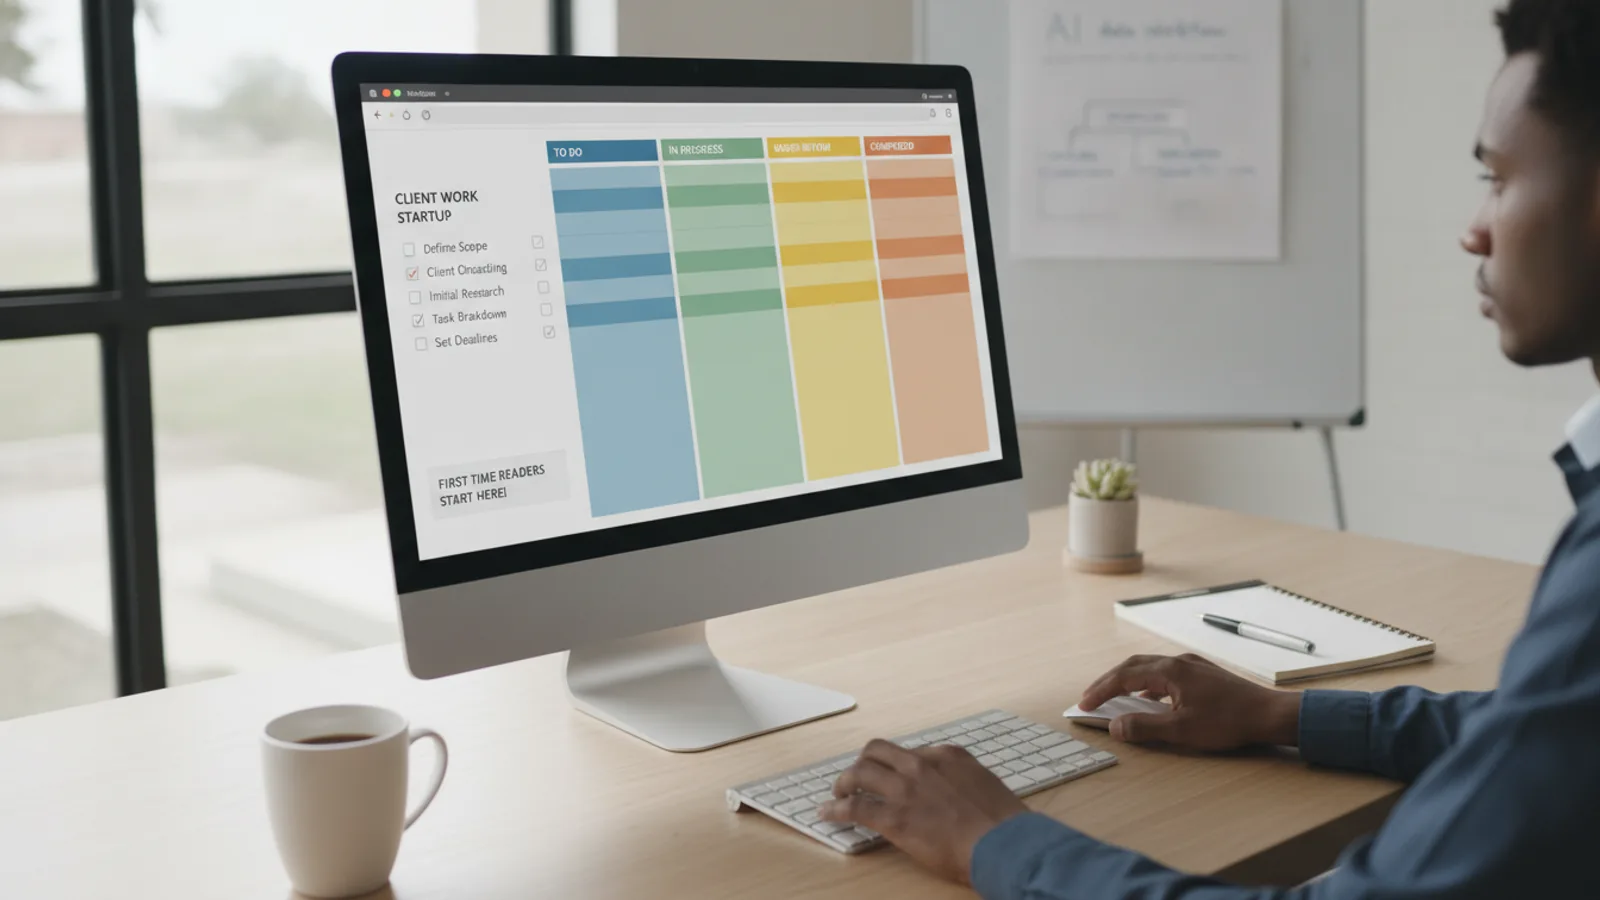
A Simple Project Dashboard For Client Work Checklist For First Time Readers
This guide helps first-time readers set up a simple project dashboard to manage client work checklists. It explains how to create a clear, visual board that tracks tasks from start to finish, ensuring nothing is missed and clients stay informed. You will learn to define your workflow, set up a dashboard with essential columns, organize tasks into checklists, assign responsibilities, monitor progress, and review performance. The guide provides practical steps, tips, and troubleshooting advice to help you confidently manage client projects.
Fast Answer
- Create a simple project dashboard by listing all your client tasks in columns like To Do, Doing, and Done, and update it daily.
- Use your dashboard to turn each task into a checklist item, assign an owner, and check off steps as you complete them to keep projects on track.
Before You Start
- List all the client work you currently have, including tasks that are recurring, one-time, or upcoming, so your dashboard covers everything.
- Decide on the key stages of your workflow, such as To Do, In Progress, Review, and Completed, to organize your tasks clearly.
- Pick a dashboard tool you already use or a simple whiteboard or spreadsheet, ensuring it is easy to update and visible to your team.
- Set a regular daily time to update your dashboard so it becomes a habit and always reflects current reality.
Step-by-Step Instructions
Define Your Workflow Stages
First, decide on the stages that your client work goes through. For most projects, a simple set works: To Do, In Progress, Review, and Done. Write these as column headers on your chosen dashboard. If you have a more complex process, you might add a 'Waiting on Client' column, but keep it minimal. The goal is to make it obvious where each task is at a glance. Think about your typical projects: what steps do you always follow? For example, you might design a draft, then get feedback, then make revisions. Those steps become your columns. Once you have your stages, you will be able to move tasks across them as you work. This structure brings order to chaos and helps you see bottlenecks. Check that your stages are logical and easy for anyone on your team to understand. If a new team member looks at your board, they should know exactly what each column means. Doing this now prevents confusion later.
Create Your Dashboard Layout
Now, set up your dashboard with the columns you defined. If you are using a digital tool, create a new board and add a list or column for each stage. For a physical whiteboard, draw vertical lines to create sections. Then, label each column clearly. Make sure the layout is visually clean: leave enough space for task cards or sticky notes. If you are using a spreadsheet, use columns for task name, owner, stage, due date, and checklist. The key is that each task will be represented by a card or a row that you can move. Consider color-coding tasks by client or priority to make them stand out. Your dashboard should be the single source of truth for all client work. Once your layout is ready, test it by adding a couple of dummy tasks and moving them through the columns. This helps you see if the flow makes sense. Check that you can easily see which tasks are urgent and which are waiting. If something feels off, adjust your column order or names now.
Break Down Projects into Tasks
Every client project is made of many small tasks. Start by listing all the major deliverables for your project. Then, break each deliverable into smaller actions. For example, if you are building a website, tasks might include 'write homepage copy', 'design header', 'develop contact form', and 'test all links'. Write each task on a separate card or row. Add a short description if needed, but keep it simple. Then, attach a checklist to each task. The checklist contains the steps needed to complete that task. For instance, for 'write homepage copy', the checklist could be: 'research keywords', 'draft headline', 'write body text', 'add call-to-action', 'edit for clarity'. This makes tasks less intimidating and ensures you do not forget steps. Check that every task has at least one checklist item. If a task is large, break it down further. The more granular your checklists, the easier it is to track progress. This step turns big vague projects into manageable actions.
Assign Owners and Set Due Dates
For each task, decide who is responsible. If you are a solo professional, that is you, but if you have a team, assign tasks to specific people. This creates accountability. Write the owner's name on the card. Then, set a due date for each task. Be realistic: consider your other commitments and the client's timeline. When you assign a due date, also plan when to start the task, especially if it is large. You can add a start date or simply note it in the description. Check that every task has an owner and a due date. If a task is ongoing, like 'respond to client emails', you might set a weekly due date or mark it as recurring. The dashboard should tell you what to do today and who is responsible. This prevents tasks from slipping through the cracks. It also helps you communicate with clients about timelines. If you find you have too few days to complete something, adjust the scope or ask for an extension early.
Update and Move Tasks Daily
The real power of a dashboard comes from consistent updates. Every day, spend a few minutes reviewing your dashboard. Move any tasks that have progressed: if you started a task, move it from To Do to In Progress; if it is finished, move it to Done. Check off checklist items as you complete them. If you are waiting on a client or a team member, move the task to a 'Waiting' column or note it in the description. This daily habit keeps your dashboard accurate and useful. It also gives you a sense of accomplishment as you see tasks move to Done. Be honest about what is not done yet. If you are blocked, write a comment explaining what you need. This helps others know how to help. The check is: at a glance, can you say with confidence which tasks are active, which are stuck, and which are finished? If not, update your board immediately. This daily practice is the key to staying in control.
Review and Adjust Your Dashboard Weekly
Once a week, step back and look at your dashboard as a whole. Are there tasks stuck in one column for a long time? Are you consistently missing due dates? Are there bottlenecks? Use your dashboard to identify patterns. For example, if many tasks are waiting on client input, you might need to set clearer expectations or deadlines. Adjust your dashboard if necessary: maybe you need a different column, or perhaps some tasks can be broken down further. Also, archive or move completed projects out of the active view to keep it clean. Review your checklists: are they effective? Did you finish tasks without needing extra steps? If so, you might add those steps to future checklists. This weekly review helps you improve your workflow. It ensures your dashboard remains a useful tool, not a static document. Use the insights to make your next week more efficient. Remember, the dashboard is yours to shape—change it as your work evolves.
Quick Reference
| Situation | Action | Why it helps |
|---|---|---|
| You have a task that is waiting for a client response and you do not know when they will reply. | Move the task to a 'Waiting on Client' column or clearly mark it as 'Blocked' in your dashboard, and set a follow-up reminder for a few days later. | This keeps the task visible without cluttering your active columns, and ensures you remember to chase the client if needed. |
| You have a large project with many tasks and you are not sure where to start. | Look at your dashboard, sort tasks by due date, and pick the task with the earliest due date that is now 'To Do' and not dependent on others. | Starting with what is most urgent and actionable helps you make steady progress and reduces overwhelm. |
| You notice several tasks are past their due date and you are falling behind. | Review all overdue tasks, identify which are most critical, and either work extra hours to catch up or renegotiate deadlines with clients. | Addressing overdue tasks early prevents them from snowballing and helps you maintain trust with clients. |
Common Issues
- Tasks are piling up in the 'In Progress' column and nothing seems to get finished.: Limit how many tasks you allow in 'In Progress' at one time—perhaps no more than three. Focus on completing those before starting new ones.
- You forget to add all the steps to your checklists, so you miss part of the work.: Before starting a task, take a minute to list every step you can think of, even small ones. Review past similar tasks to see what you might have missed.
- Your dashboard becomes cluttered with old tasks and notes, making it hard to see current work.: At the end of each day, move completed tasks to an 'Archive' or 'Done' area. Regularly clean up notes and descriptions that are no longer relevant.
Advanced Tips
- Use color coding to highlight urgency: red for due today, yellow for due this week, and green for future tasks, so your brain picks up on priorities instantly.
- Create a separate 'Questions' list on your dashboard for anything you need to clarify with clients or teammates, so nothing gets lost in task descriptions.
- Set up recurring tasks for routine client check-ins or status reports, so they automatically appear on your dashboard at their scheduled times.
Final Checklist
- I have listed all my client projects and broken them into small tasks with checklists.
- Every task has an owner and a due date, and my dashboard shows the current stage of each task.
- I spend at least a few minutes each day updating my dashboard, moving tasks, and checking off completed steps.
- I review my dashboard weekly to spot bottlenecks and adjust my workflow for better efficiency.
FAQ
How many columns should my dashboard have?
Start with four columns: To Do, In Progress, Review, and Done. You can add a 'Waiting on Client' column if you often receive external input. Avoid having too many columns because it makes the board harder to scan. The goal is clarity, not complexity.
What if I work on a small project with only a few tasks?
Even small projects benefit from a dashboard because it helps you remember all steps and communicate progress. For a small project, you might keep all tasks in a single list with checkboxes, but using a few columns still helps you see where you are. Adapt the size to your needs.
Can I use a physical paper and pen for my dashboard?
Yes, you can use a large sheet of paper or a whiteboard. Write your column headings and use sticky notes for tasks. This is especially useful if you prefer a tangible view. Just ensure you update it regularly and keep it in a visible spot.